Multiband Compression Guide: Control Dynamics by Frequency Band
Learn how multiband compression works and how to use it in mixing and mastering: crossovers, threshold, ratio, band setups, dynamic EQ, and mistakes to avoid.
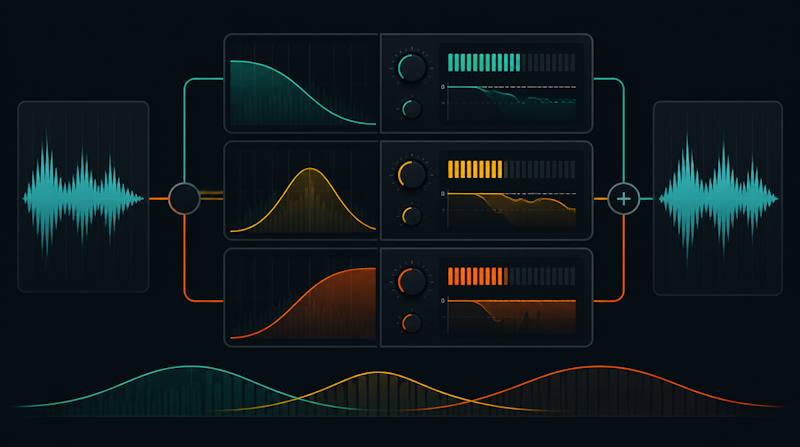
Multiband compression splits an audio signal into several frequency bands and compresses each band with its own settings. It shines whenever you only want to touch part of the spectrum—taming a boomy low end or smoothing a harsh top without squashing everything else. This guide explains how multiband compression works and how to use it in mixing and mastering, from the underlying mechanics to concrete starting settings.
What Is Multiband Compression? How It Works
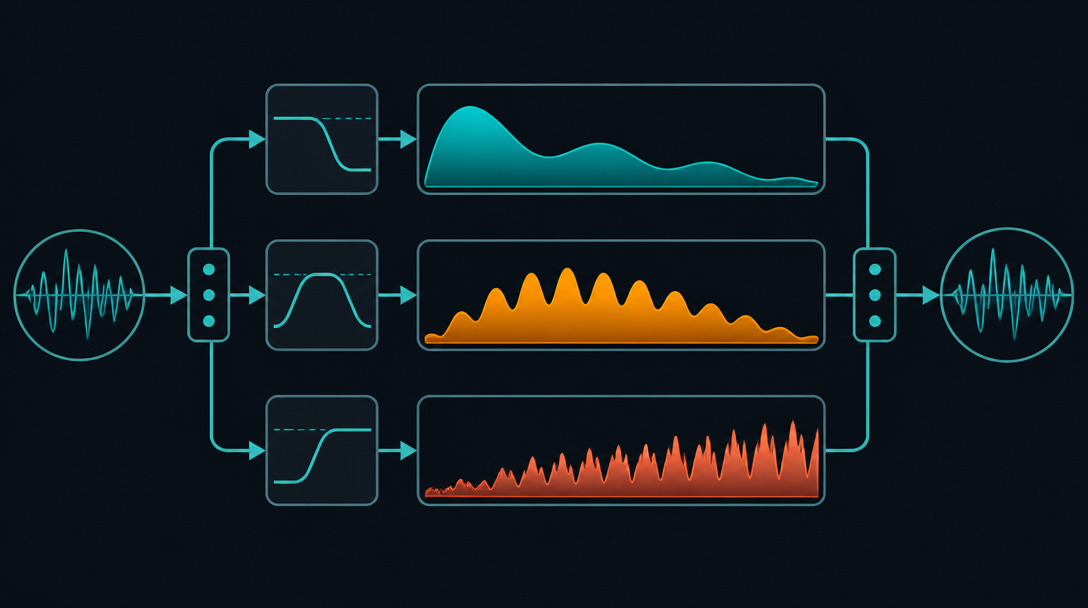
Before setting anything, it helps to understand what a multiband compressor actually does. The defining difference from a regular compressor is that it splits the audio by frequency before compressing it.
How It Differs From a Single-Band Compressor
A standard broadband compressor applies gain reduction to the entire frequency range at once. That means a strong kick drum can trigger compression that also ducks vocals and everything above it. According to iZotope, a multiband compressor is essentially "several compressors, each of which operates on one section of the full audio spectrum," so each band is compressed independently.
If you are still shaky on the core compressor controls—threshold, ratio, attack, release—start with EQ and Compression for Mixing to build the foundation first.
Crossovers Split the Spectrum
A multiband compressor uses filters called crossovers to divide the input into separate bands. As Waves explains, the number of bands varies by plugin—four in the C4, six in the C6. Each band is compressed independently, then everything is recombined into one output signal.
- Crossover frequency: the boundary that decides which band a frequency falls into
- Number of bands: typically 2 to 6 (MasteringBox)
- Recombination: the compressed bands are summed back together at the output
Key Multiband Compressor Parameters
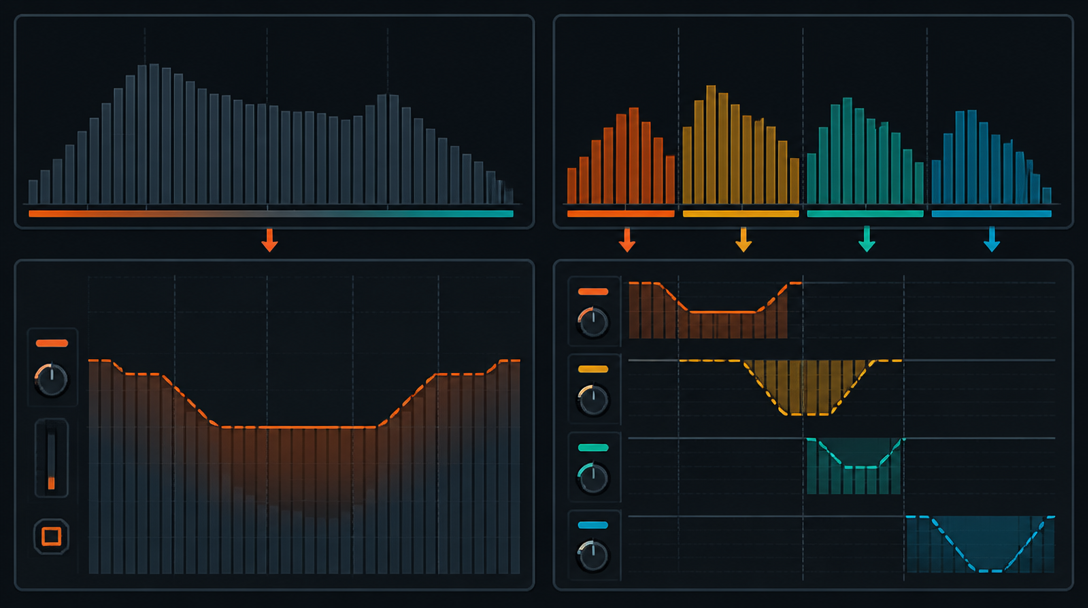
To use a multiband compressor well, you need to know the per-band parameters. They are the same controls as a single-band compressor—you just have one set per band.
Threshold and Ratio
Threshold sets the level where compression starts; ratio sets how hard the excess is squeezed. At 2:1, a signal 2 dB over threshold rises only 1 dB at the output; at 3:1, every 3 dB over yields 1 dB (Waves). In mastering, keep ratios similar across bands—wildly different ratios can break the tonal cohesion of the master.
Attack and Release
Attack is how quickly compression engages; release is how quickly it lets go. Sonarworks notes that a faster attack tightens a low-end kick while a slower attack in the mids preserves natural tone. Set release musically: divide 60,000 by the BPM to get the quarter-note length in milliseconds, then dial release to musical increments.
Crossover Frequencies and Band Count
Placing crossovers is the most important call when using a multiband compressor. Sound on Sound advises putting the crossover where it "least obviously splits a primary instrument in two," citing around 200 Hz for isolating the low end and around 2 kHz for the mids. Use the fewest bands possible.
Using Multiband Compression in Mixing
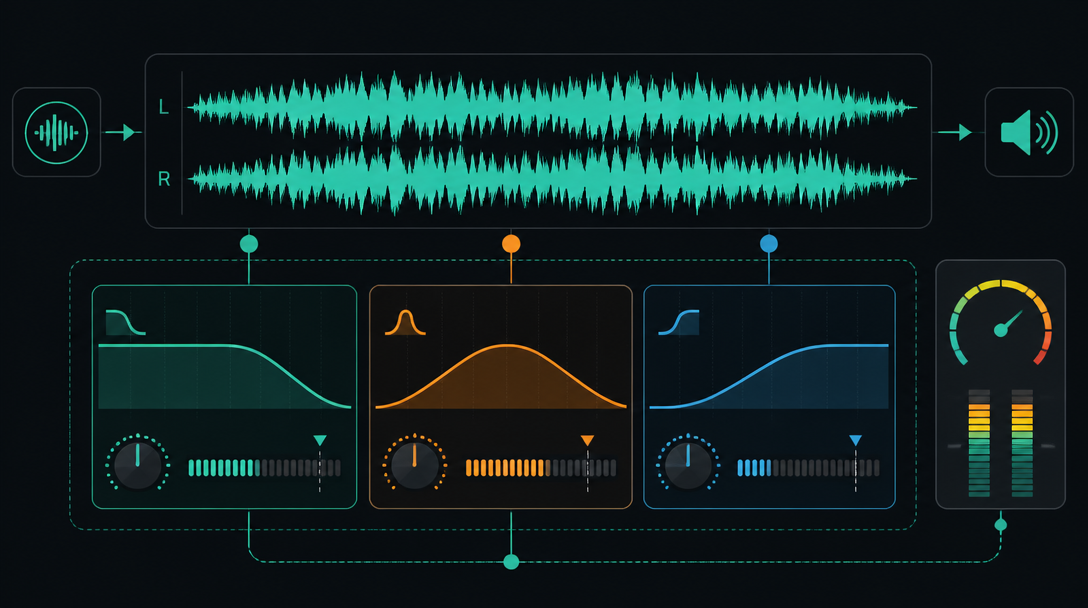
In the mix, reach for multiband compression to calm a track where only one band is misbehaving. You target the problem frequencies without crushing the whole signal.
Controlling Low-End Dynamics
Bass and kick low end vary in level depending on note and hit strength. A gentle two-band setup that targets only the lows steadies the foundation. Sonarworks suggests a starting point of about 1.3:1 ratio, 70–100 ms attack, 75–250 ms release, and 1–2 dB of gain reduction for two-band low-end control.
Taming Harsh Highs
When a bright cymbal or plucky guitar jumps out in one band, compressing just that band removes the edge without dulling the overall tone. A plain EQ cut can leave vocals "muffled" or guitars without "bite," whereas multiband compression only acts when the band gets loud, which sounds more natural. For the interplay with space effects, see Reverb vs. Delay.
De-Essing as a Special Case
Sound on Sound points out that many de-esser plugins are "effectively just specialised multiband compressor setups." For sibilance, compress the band above roughly 8 kHz. Sonarworks lists de-essing starting points of under 1–5 ms attack, ~25 ms release, around 10:1 ratio, targeting the 2–8 kHz range. For band-specific sidechaining, read Sidechain Compression.
Using Multiband Compression in Mastering
In mastering, multiband compression fine-tunes the tonal balance of a full mix and evens out loudness differences between bands. Apply even less than you would in the mix.
Two-Band Low-End Control
If the low end is swelling and pushing overall loudness too hard, place a crossover around 120–200 Hz and add gain reduction only in the low band. This tames the low-end movement while keeping the clarity of the other bands.
Three-Band Balancing
For a master with both excess lows and harsh highs, a three-band setup with crossovers near 150 Hz and 5–6 kHz is easy to handle. You can nudge lows, mids, and highs independently. MasteringBox notes bands range from 2 to 6 depending on the job, but warns that overcompression leads to "a loss of dynamics and a lifeless sound."
Recommended Starting Settings
Sound on Sound recommends a mastering starting point of 2:1 ratio, 100 ms attack, 100 ms release, soft knee enabled, and a threshold set so only one or two bands show slight gain reduction. To finish alongside loudness targets, see Mastering Basics: Loudness and Release Prep.
Use case | Bands | Crossover guide | Ratio / GR guide |
|---|---|---|---|
Low-end dynamics (mix) | 2 bands | ~120–200 Hz | ~1.3:1 / 1–2 dB |
Vocal mid control | 3 bands | 250 Hz–5 kHz | ~1.5:1 / 1–3 dB |
De-essing (sibilance) | upper band | ~2–8 kHz | ~10:1 / as needed |
Mastering low control | 2 bands | ~120–200 Hz | ~2:1 / 1–2 dB |
Mastering balance | 3 bands | ~150 Hz / 5–6 kHz | ~2:1 / gentle |
Multiband Compression vs. Dynamic EQ
The tool most often confused with multiband compression is dynamic EQ. Both alter specific bands based on level, but they work differently.
Different Operating Principles
A multiband compressor splits the signal at crossovers and processes each band as its own compressor. A dynamic EQ places an EQ band at a frequency point and moves its gain up or down based on the input level. Because it does not split and recombine the signal, dynamic EQ tends to affect phase less and can make more surgical, transparent corrections.
When to Use Which
- Gluing a broad band together: multiband compression
- Surgically taming one narrow resonance or spike: dynamic EQ
- Master glue and loudness: multiband compression
- Care of one prominent frequency: dynamic EQ
They are not mutually exclusive. A practical order is to fix the narrow harsh spot with dynamic EQ first, then build broad-band cohesion with multiband compression.
Common Mistakes and How to Avoid Them
Because multiband compression is so flexible, misuse easily produces unnatural results. Know the classic pitfalls.
Using Too Many Bands
Sound on Sound observes that people most often "come unstuck" by "determined to use all the bands all of the time." For transparency, move only the minimum number of bands needed—usually just one or two actually need compression.
Phase Issues and the Crossover Trap
Because crossovers split the sound, they can cause phase issues where bands do not blend cleanly (MasteringBox). Sonarworks adds that the process "is never completely transparent and may add distortion and other artifacts." Linear-phase modes reduce phase shift but trade off latency and pre-ringing.
Over-Compression
Since each band can be squeezed on its own, it is easy to overdo the total amount without noticing. Bypass often and compare with the source to confirm real improvement. Shallow crossover slopes let bands bleed and create artifacts, so precise work benefits from steeper slopes of 18 dB/octave or more (Sound on Sound).
A Practical Step-by-Step Workflow
Finally, here is a repeatable order for applying multiband compression. Following it helps you avoid over-processing while landing the correction you want.
Step by Step
- Identify the problem: use ears and an analyzer to find the misbehaving band
- Set crossovers: place boundaries that isolate the problem without unnaturally splitting a lead instrument
- Choose bands: limit yourself to one or two active bands
- Set threshold: aim for 1–3 dB of gain reduction on peaks
- Set attack/release: faster to moderate on lows, release timed to tempo
- A/B check: bypass and compare to make sure you have not overdone it
- Make-up gain: match levels for a fair judgment
Where this fits in the wider mix depends on your grasp of EQ and compression basics. If the order confuses you, revisit Mixing 101.
Conclusion
Multiband compression is a powerful way to control dynamics band by band. Here are the key takeaways.
- The core idea is splitting audio at crossovers and compressing each band independently
- In mixing, it excels at low-end inconsistency, harsh highs, and sibilance
- In mastering, use two or three bands gently for low control and overall balance
- Split roles with dynamic EQ: broad glue with the compressor, narrow spots with EQ
- Most failures come from too many bands, phase issues, or over-compression—keep it minimal